Monday, December 15, 2014

Hope everyone is enjoying the Season!

Since it has been a while since I posted, I just wanted to check in and let you know that I have been 
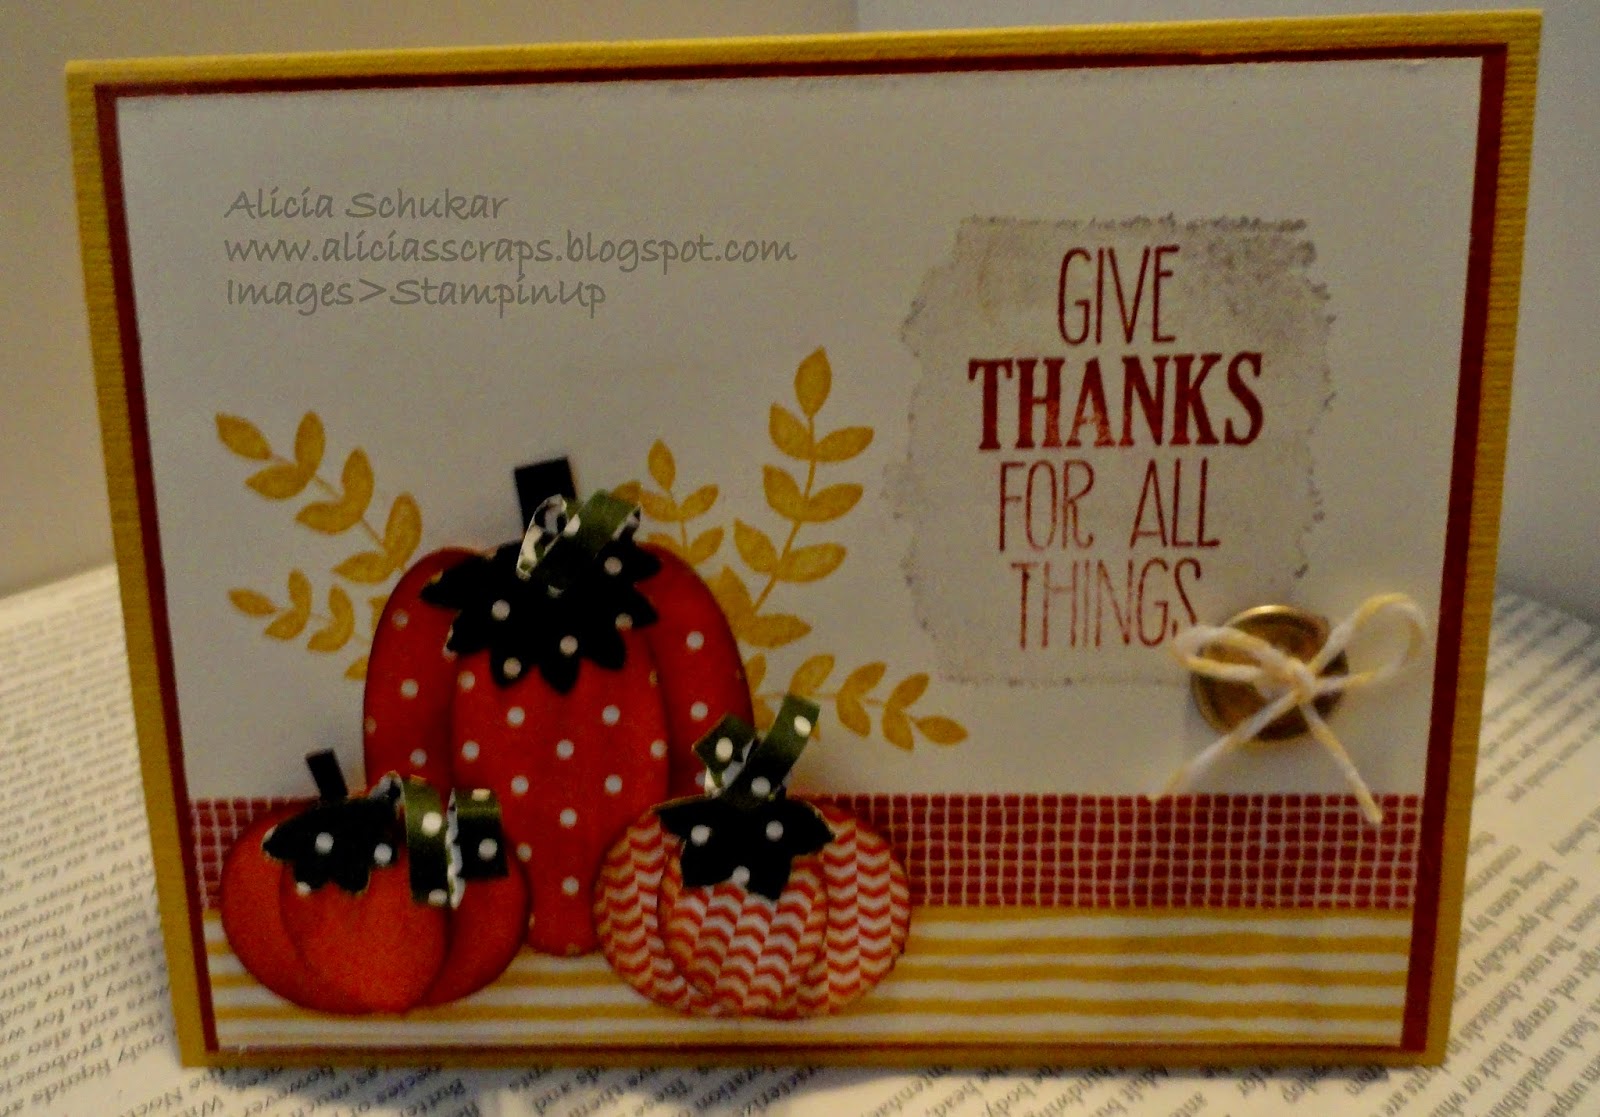
busy as ever creating, just have not got anything posted yet..I made all my Christmas cards this year.  Actually have then mailed too!  Been making boxes for gifts from the gift board punch and I must tell you...I love it!  As soon as I can get a little more accomplished, I plan to post pictures!  So until then, I am going to leave you with this,  a cute little gift card I made a couple of years ago.  Thanks for stopping by, until next time,
Hugs,
Alicia


Friday, November 21, 2014

Card Shares

I recently joined a card share that show cased the Stamp Sets in the Holiday Catalog.  Here are two that I received that are Fall related that I wanted to share with you.  The first one didn't have a name of the maker on it but I thought it was really cute and well done.
The second card I received was made by Betty Gillespie.  
I always enjoy getting cards in swaps.  You never know what you are going to get and I loved just looking through them all.  I have some Christmas ones that I will share later. Thanks for stopping by. Until next time,
Hugs,
Alicia

Thursday, November 20, 2014

Punch Pumpkins

This is a cute card to make.  It has been awhile since I used punches to make pumpkins so decided to try it again.  Love how it turned out.  Did you know that our fringe scissors make a perfect pumpkin curl for your pumpkins?  They do and then just curl them around a pen and presto they are ready! I used 2 different size punches, Large Oval and 1 inch circle for the pumpkins. I am getting a lot of use out of the For all Things stamp set too!  It was used for the sentiment and yellow background leaves.  Thanks for stopping by.  If you have any questions about how to assemble the pumpkins, let me know.
Until nex time,
Hugs,
Alicia

Wednesday, November 19, 2014

Autumn Leaves Again

I loved the leaves that I shared with you yesterday so much that I decided to do another card with them using the Autumn Leaves Accent die and watercolor paper.  Love how it turned out! I used the same ink colors from yesterday's post to color the leaves after I die cut them with the leaves die cut and rolled a round bottom pin on the leaves on top of the a cushion pad.  Kind of gives it an interesting effect.  I also used the Hardwood background stamp with the embossing folder, which added some more texture.  The sentiment is from For all Things stamp set.  Hope you enjoy!  Any questions, let me know.  Thanks for stopping by.  Until next time,
Hugs,
Alicia

Tuesday, November 18, 2014

Autumn Leaves

I have been wanting to try creating some leaves using the Autumn Accents die and watercolor paper, so I got out my aquabrush and inks and had some fun creating this after seeing it on Pinterest awhile back.  I love how the watercolor paper gives the leaves texture.. The supplies I used are listed below if you want to give this technique a try.  The results are really colorful.  Thanks for stopping by.
Until next time,
Hugs,
Alicia
 Stamps:  Gorgeous Grunge, Dictionary
Ink:  Old Olive, Tangerine Tango, Chocolate Chip
Paper: Watercolor, Whisper White
Accessories:  Autumn Accent Die, linen thread, gold button ,Autumn Washi Tape

Monday, November 17, 2014

From our Home to Yours

I love the Framelits with matching stamps that Stampin Up offers.  They make everything so much easier!  One of the newest addition to the Framelits Family is the Homemade Holiday Framelits with a matching Holiday Home stamp set.  This is so versatile.  It can be used to help you accent all of your homey creations for the Holidays and beyond.  I already used these on a Halloween card seen here: http://aliciasscraps.blogspot.com/2014/10/boo.html.  So had to make one for Fall too!
Pretty easy card to make and I am sure some one in your life would love to receive a card made for them by you.  Thanks for stopping by.  Until next time,
Hugs,
Alicia
Holiday Home Stamp Set
C/S: Hello Honey, Crumb Cake,Naturals Ivory, Pumpkin Pie,Very Vanilla 
Ink: Early Espresso, 2014-2016 In Color Markers,Crumb Cake and Pumpkin Pie Markers
Homemade Holiday and Ovals Framelits along with the Argyle Impressions folder

Friday, November 14, 2014

Hello Fall Gift Card Set

Hope all are doing great!  Meant to get some of these cards posted earlier but life said otherwise!  Anyway, I have cute little gift set of cards that I created to put in the half wood stamp case.  I had some of these cases around and wanted to use them. I saw a card that I liked in our Stampin Up bi- monthly magazine and the idea was born!  
I first did some measuring to determine the size if the cards, which are a 6 1/2 inch of paper folded in half .  For the holder front, I put a piece of Marina Mist card stock 11 1/4 x 3 1/4 which I decorated by adding a Soft Suede piece of card stock behind a piece of canvas which I sponged some Crushed Curry ink on the side of.  I then stamped two leaves in Crushed Curry and Rose Red.  I then did some fussy cutting and attached them.  Hope you like!  Thanks for stopping by. Let me know if you have any questions. Until next time,
Hugs,
Alicia  


Friday, October 31, 2014

Happy Halloween Everyone!

Just wanted to drop by and say Happy Halloween to those of you that celebrate it!  I have a quick card that I made and wanted to share with you.  It is made from Tim Holtz goodness and gives me a chance to change things up from the normal SU supplies.  Hope you like!
And I have one more thing that my special friend, Rinna, made on one of our "crafty days".  Saw the idea on Pinterest except it was for a pumpkin.  This is made from canning jar lids, with Halloween paper glued around and then secured together with ribbon to form a circle.  Really quick and easy and different!  Thanks for stopping by.  Hope you have a spooky happy Halloween with all the ghosts and goblins!   Until next time, Hugs,
Alicia

Monday, October 27, 2014

Felty Witches Hat Card

The title pretty much says it all.  This is a card that has a Felt Witches Hat on it!!  It you look close you will see that the hat itself is popped up on the card and yes, it is made from felt!  I used the material that you use to transfer wood stamps to clear stamp for the dimensional look.  Since I had some of this left over from when I was transferring my wood stamps to clear, I though, why not give it a try.  So here is what I did..  I stamped the Witches from Stampers Anonymous Halloween Blueprint 3 Stamp Set on the back of the white paper.  Then I cut around the shape of the hat.  After I had cut it out, I removed the top sticky piece and put the felt on it, cut again around hat, then removed the back sticky side and placed it on the cream felt oval that I had cut out. I stamped the hat on sticky back canvas for the band , cut it out and then used spiced marmalade distress ink on it for the orange color.  I made a buckle out of wire and attached it.  The rest is pretty simple, the pearls were colored with Black Soot, the design around the oval was cut with felt from a die cut.
What do you think?  I was pretty happy with the results.  Hope you like. Thanks for stopping by,
Until next time,
Hugs,
Alicia

Friday, October 24, 2014

The Chemist

This stamp set has always been very interesting to me.  When I was finally able to gt a hold of the new Halloween minis by Stampers Anonymous, I knew I could finally use it.  The images are all included in the Mini Halloween 4 stamp set.  I really love how this card turned out.  It is actually like the example in their caddie.  I was so excited to find the directions on Stamp Tramp's blog that I could not resist another moment.  So here is the result.  I love all the layers and colors.  I did change some things, since I didn't have all the supplies but I do believe it still turned out great.  So hope you enjoy.  Thanks for stopping by.  If any questions, please let me know.  Hugs,
Alicia

Thursday, October 23, 2014

Witchy Halloween!

It has been awhile since I  have made a tag with some of Tim Holtz goodness.  So wanted to play with the distress inks and die cuts he has, so the following tag is one that just happened when I started playing.  My favorite way to create really!  Hope you like what I wound up with.  Of course, there was glitter on it, since I had been working with glitter all week, couldn't stop now.  LOL!  Anyways, everything on the tag is Tim Holtz.  Looking kind of like Halloween.  What do you think?  Thanks for stopping by.  Until next time,
Hugs,
Alicia

Wednesday, October 22, 2014

Good Witch, Bad Witch!

Saw a card like this on Pinterest and liked it so decided to recreate it.  I didn't have the stamp set, so I improvised.  I used a retired stamp set from SU and then added the saying.  I cut out the Bad and Good, then put them on top of the original words.  Had to add some glitter to the shoes and then some Black glitter paper.  Hope you like.  Thanks for stopping by.  Until next time,
Hugs,
Alicia
 

Tuesday, October 21, 2014

More Glitter!

Here are a couple of more cards that I made from the Stamponit.net designs that Rinna and I found at the Stamp and Scrap Show.  I love glitter but after using it on three cards and having it all over me and everything, I have done enough for a while!  Anybody that has done a lot of glitter knows what I mean!  Anyways, hope you enjoy these!  Thanks for stopping by.  Until next time,
Hugs,
Alicia


Monday, October 20, 2014

Envelope Punch Board gusseted pounch

Well, with Halloween coming shortly, I finally got around to making some cute treat holders! I found this idea on Pinterest by Elizabeth Price.  I wanted to use up some of my retired DSP, so the following pictures are what I came up with.  The stamps are from Michael's dollar racks from several years ago.  I still had some of those cute ziggy eyes we used to have at SU.  So I just started making and having fun and am quite pleased with the outcome!  The holder is found at Target's hot spot.  I gave them to Rinna to hand out at her job.  Hope everyone likes them!  Enjoy!  Thanks for stopping by. Until next time,
Hugs,
Alicia


Tuesday, October 14, 2014

Tag Time!


These are a couple of tags that I made, that I wanted to share again.  These are made from my second love, Tim Holtz stuff.  I hope you like.  Just a lot of fun to do some different techniques and use some different "play things"!  Hope you enjoy.  Thanks for visiting.  Until next time,
Hugs,
Alicia

Monday, October 13, 2014

Halloween Happiness

This was a fun card to put together!  I had some stamps from last year that had not seen ink, so I needed to use them.  So I tell my thrifty self.  LOL!  Anyways, here is a quick cute card using the Halloween Happiness stamp from last year's Holiday Caddie.  As you are probably seeing, I love the new In Color Tangelo Twist for Fall.  Hope you enjoy. Thanks for visiting.  Until next time,
Hugs, 
Alicia


Friday, October 10, 2014

Boo!

Well, I just love Halloween and all the fun things that we can make and share so I saw this card on Pinterest and loved it so decided to recreate it as best I could.  It is made with the Holiday Home stamp set and matching framelits, (don't you just love it when Stampin Up makes dies to match their stamps!!!). I also used the Bite Me Photopolymer stamp set from last year for the webs.  Also got a chance to use the Little Letters Thinlits for the BOO from SU and I love them.  I can see me using these with the negative space also.  So here is the picture...  The rest of the deets are below the picture.  Hope you enjoy!  Thanks for visiting.  Until next time,
Hugs,
Alicia
C/S:  Tangelo Twist, Black and Smoky Slate, and basic Gray
Ink: Memento Black and Basic Gray
Tangelo Twist Ribbon
But wait I have another card that I received in a swap that also has the House stamp set that I wanted to share with you. This was made by Andrea Sharp and I loved the colors she chose.  It is an easy card to do at a gathering but really effective, don't you think?  Enjoy!


Thursday, October 9, 2014

Glitter, Glitter, Glitter!

I recently went to a Scrapbook and Stamp Show with a very special person in my life, my son's girlfriend, Rinna, and saw this booth that had these designs printed on transparent sheets and then glitter put on the back and then made into a card.  Both of us just couldn't resist being the glitter girls that we are!  I loved how this card turned out. She and I will be having some fun with these a little while later and I will share what we came up.  But I just couldn't wait!  The company is Stamponit.net.  I like that it does give you a different medium to use.  Hope you like.  Thanks for visiting today!  Until next time,
Hugs,
Alicia

Wednesday, October 8, 2014

Frightful Wreath!

Well it is already October!  I can't believe the summer has ended and Fall is here.  I love summer and the beach but I also love Fall and the beautiful colors of the leaves and all the fun with Halloween!  So my first offering for this season is the Simply Created Kit by Stampin Up.  It is a fun kit to put together and easy too!  You can pretty much do whatever suits your fancy with this kit.  It comes with everything you need except for a few things that you should already have.  The spider is the most time consuming but really easy.  I did it watching TV one evening. So here is the picture of what I made along with pictures of the kit and what they suggested.  As you can see, I had to put my own spin on it.  Hope you enjoy.  Thanks for visiting.  Until next time,
Hugs,
Alicia


Saturday, September 27, 2014

A Little Bit of Everything!

This card happened from everything that I had on my desk when I started to work on it.  I saw a similar one somewhere in my wanderings.  Hope you like.  Here is it is with the deets below it.  Thanks for stopping by.  Until next time,
Hugs,
Alicia
Card stock: Brushed Gold, Very Vanilla, Gold Glimmer
Ink:  Strawberry Slush, Hello Honey and Tempting Turquoise Markers misted with water before applying to paper
Stamps:  Gorgeous Grunge, Four Feathers
Other:  Paper dolly, linen thread, gold sequin trim, gold fancy foil

Friday, September 26, 2014

Fall Feathers

Needed a quick card to send a thank you to someone and since fall is starting to creep in with me, I created this one.  Very simple with very vanilla card stock and the Four Feathers stamp set and framelits..  I used Crushed Curry and Pumpkin Pie ink.  Can't get more "fallest" than that!
Enjoy!  Thanks for stopping by.
Until next time, Hugs,
Alicia


Thursday, September 25, 2014

Feathers and a Happy Hooray!

This was a fun card to make as I love all the texture on it.  I even sewed on it!  I know, doesn't happen often.  So here are the deets for the card.  Enjoy!
Stamp:  Happy Hooray, Four Feathers
Card Stock: Crumb Cake, Whisper White, Very Vanilla
Ink: Hello Honey, Baked Brown Sugar, Tangelo Twist and Crumb Cake
Other: Feather Framelits, Burlap ribbon, gold sequins (love those things),  Gold Bakers Twine
Thanks for stopping by!
Until next time,
Hugs,
Alicia


Wednesday, September 24, 2014

Happy Hooray

This is a new stamp set that I got from the Annual Catalog that I have been itching to use in different ways.  Sounds like that is happening a lot these days. Anyways, I saw this on Pinterest and decided I had to give it a whirl.  I really was intrigued by the ribbon hanging down with the Back to Black dsp wrapped around it.  I love feathers too so it was a win win for me.  What ya think?  
Thanks for stopping by. Until next time,
Hugs
Alicia
 

Tuesday, September 23, 2014

Hey there!

Continuing from the post yesterday, I have three more examples of Hey Buds Stamp Set.
First up is a card that I made awhile back when I was doing CASES of  the Annual Catalog.
This one is shown on page 125.  Compared to the ones I shared yesterday, you can see how many different looks that you can get from this set.The image was stamped with Stampin Write markers again and applied directly to the card stock after you "huffed on it.
Next up is another card that I did with the Stampin Write markers but before I stamped the image, I lightly sprayed the image with water, which gives it a "watercolor" effect.  This was one of the first techniques I learned when I first started stamping way back in 2001!   The colors are Melon Mambo, Pumpkin Pie, and Old Olive.  Then I just mounted it onto the same colors of card stock.
Next and last is a Kraft gift box that I stamped with Night of Navy and the Hey Buds stamp set.
Easy Peasy!  Love the look of Night of Navy ink on Kraft.  Well, that is it for this stamp set.  Hope you enjoyed looking.  Thanks for stopping by and until next time,
Hugs,
Alicia

Monday, September 22, 2014

Hey there Buds!

This is a very versatile stamp that is in our Annual Catalog on page 125.  It is only $9.95 and there is lot that you can do with this one stamp.  Here are a couple of some cards that I have made with different techniques.  Tomorrow I will share a few more.
First up is a technique called Solid Image Tracing. It is a little time consuming but the results are beautiful. First I stamped the Hey Buds stamp image with blushing bride ink, traced it with a Project Life Journaling pen and then colored the image with Blendabilities markers, Cherry Cobbler, Daffodil Delight, and Old Olive.   This is a great way to give your solid images an entirely different look.  After I finished coloring the flowers, I used a sponge dauber with Bermuda Bay ink to color the background. Next I sponged early espresso ink around the edges and then heavily distressed the edges.  Then mounted everything on Black card stock and then on Gold Foil card stock.  The for you is embossed in gold to add some extra pizazz to the card.  I totally cased this card from Connie Collins because I loved the look of it.  What do you think?
 Next I made this card with entirely different colors and another technique called "huffing".
I used Stampin Write markers to color individual parts of the stamp image.  Then before you stamp it, "huff" on the image to refresh the ink.  The moist ink from your mouth will activate the ink again.
I used the Gold Soiree Specialty paper with Calypso Coral and Pistachio Pudding.  Don't those colors sound yummy?  Hope you like and if these give you any inspiration to try a new technique, let me know.
Until next time,
Hugs,
Alicia
 

Thursday, September 11, 2014

Kinda Eclectic


This set turned out so good!  I am really excited how it looks!  I actually ordered this from one of my fellow demonstrators that had it for sale on her blog because I love the look of gold and this project had it all!  The Kinda Eclectic Stamp Set from SU was used along with lots of bling and gold embossing powder.  My pictures don't really do justice but thank you Ilina Crouse for having this class! Hope you like.
Until next time,
Hugs,
Alicia

Wednesday, September 10, 2014

Work of Art 4

Here is the last card that I did with the Work of Art stamp set that I put into a cute clear box for gift giving.  This one is pretty straight forward to make.  One of the fun elements is the frayed ribbon on the button.  This is done by cutting a strip of Bermuda Bay stripe ribbon and then begin fraying the edges until you get the desired effect.  The colors used are Bermuda Bay, Old Olive and Blackberry Bliss.  Hope you enjoy.
Until next time,
Hugs,
Alicia

Tuesday, September 9, 2014

Work of Art 3

Here is my third Work of Art card I did.  This was an easy one to do using Daffodil Delight , Tempting Turquoise and Melon Mambo ink swipes with the watercolor swoosh stamp in the set. Then layering it behind a heart cutout.  Easy to do.  Hope you like.
Until next time,
Hugs,
Alicia

Monday, September 8, 2014

Work of Art 2

Since I was working with the Work of Art Stamp Set, I decided to go ahead and make a few other cards with the set and then put them in a cute little box that I made with the window sheets and envelope punch board.  First up is one that I made using watercolor paper and spraying the ink with water to give it a kind of eclectic look.  The chevron stamp in the set was used on the paper with the following colors of ink from bottom to top.  Cajun Craze, Calypso Coral, Crisp Cantaloupe and Blushing Bride.  The top was off stamped with the same colors and attached to a Crisp Cantaloupe card base.  Hope you like.  I will have another one that I made tomorrow.
Until then,
Hugs,
Alicia

Saturday, September 6, 2014

Work of Art

Below is a card that I made with a special person in mind.  I wanted to use the new Blendabilties from Stampin Up so what better way than to color flowers!  The new corner garden background stamp was the answer.  I love the saying, in the Work of Art Stamp set, so all of this came together from wanting to do coloring and loving the saying!  I think  it worked pretty well.  What do you think?  Let me know.  If you haven't had a chance to try the new markers, Blendabilities, you are missing a treat.  They are so easy to use and the result is pretty awesome.  Hope you like.
Until next time,
Hugs,
Alicia

Friday, September 5, 2014

By the Tide 2

As promised, here is my other post for the By the Tide Stamp set.  This is a cute Scalloped Tag Topper Punch card with a matching mini gift box.  You can find the directions for the card if you just google it.  The little box is made with the Scalloped Tag Topper Punch also. The directions for it is also found on the web.  The paper I used is retired now, Natural Composition Specialty DSP.  Very Vanilla cardstock along with Bermuda Bay, Baked Brown Sugar and Crumb Cake Ink.  Hope you like.  Let me know if any questions.
Until next time,
Hugs, Alicia 


Thursday, September 4, 2014

By the Tide

Well, with summer winding down, even though it is still hot here, I wanted to share a stamp set that I really love.  If you know me, you also know that I LOVE the beach and anything related to it.
This is a cute little card holder with 3x3 cards that would make a really nice gift for someone.  I actually made this last year, but liked it so much that I posted it again.  Notice the detail on the little holder with the braided tag!  Cute, I tell ya!  Anyway, hope you like and it gives you some inspiration.  I have another share tomorrow with this stamp set also.  Until then,
Hugs,
Alicia